Standards for
making the course
Creating a basic course involves a detailed introduction to the skill with all aspects of the technique. The purpose of this guide is to provide detailed guidance on designing and developing an e-learning course for instructors who are new to e-learning design.
In each of these lessons, you are free to complete the lesson with additional photos and videos that will best explain the process to your students. *Advertising for products not approved by PhiAcademy is strictly prohibited.
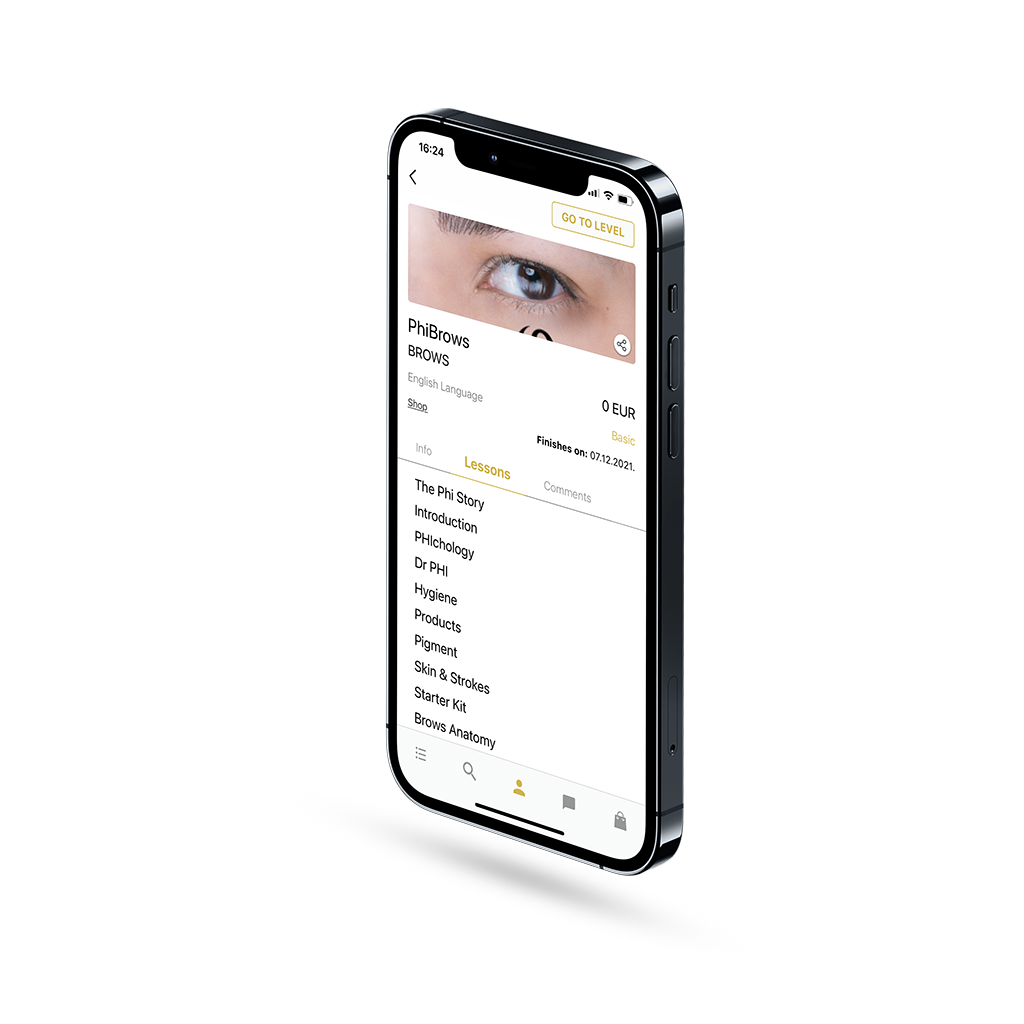
Main page visible to all CraftMaster users
Main page visible to
all CraftMaster users
On the homepage that is visible to all users of the CraftMaster application you are free to represent your technique in the best way possible, as well as the benefits of learning your course that really match learners’ needs – through brief but detailed content, photos that will best showcase your work and even video that you can use for promotional purposes – with an aim to bring your offer closer to CraftMaster users and to attract potential students.
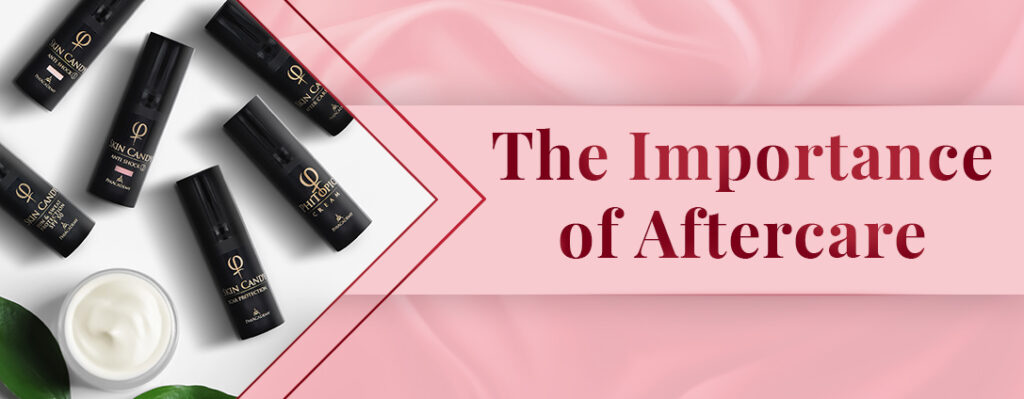
Standard dimensions: 1087×424
Example: If we are talking about a post-treatment care lesson, your banner will be designed to match the textual content of that lesson, which means that you can put post-treatment care products corresponding to the title of the lesson on the banner.

Example
If we are talking about a post-treatment care lesson, your banner will be designed to match the textual content of that lesson, which means that you can put post-treatment care products corresponding to the title of the lesson on the banner.
Example: Welcome to PowderBrows course
In your first address to the students be sure to brief them once again with the technique and with an explanation of what they can expect during the course of education:
- About your technique
- Advantages and differences of your technique compared to others
- Benefits of attending your course…
In the introductory part you also have the opportunity to introduce yourself as well as your development path to perfecting the technique:
- Who are you?
- What made you do this business today?
- The obstacles you have overcome and the progress you have made…
All students have questions about your technique and its offerings, and they should know to answer those questions to boost basic knowledge in the initial steps of education and, in the future, to build trust with their clients as early as the first conversation, knowing the answers to these questions.
Each of these answers will be explained in detail throughout the theoretical part of the course, therefore offer them only basic, brief guidelines.
Answer all the questions related to the skill being presented:
Who is the treatment intended for?
What are the treatment steps?
What is meant by the process of performing the technique?
What tools and products are used for treatment?
How long the treatment lasts?
Is it painful?
Does the treatment need to be repeated or corrected and when?
What is the healing process?
How long do the effects of the treatment last?
Depending on whether your technique involves working on the skin or under the skin, the following lessons may be considered:
– Skin structure
– Hair structure
– Skin types
– Skin tone
– Face shape
– Mature skin
– Skin problems
The aim of this lesson is to give students information of how to maintain hygiene standards in order to stop any cross-infection and that all sanitary rules are followed:
– Personal presentation and hygiene
– Preparation and protection of tools and equipment for work
– Client preparation according to hygiene standards
To provide clients with a professional and a successful treatment, it is vital that your students understand color theory.
Understanding pigment/ink chemistry along with an in-depth knowledge of skin science will enable them to become artists who, including all aspects, know how to choose the best for their client.
The following lessons may be considered:
– Naming of the pigments that will be used
– Based on what criteria we choose the right pigment for the client
– How to mix the pigments?
– Insertion of pigment into the skin
– How to cover old tattoo?
It is essential that you explain to your students all the equipment they will use while performing the technique. This includes the following:
- What machine(s) do you use?
- Machine setup: How to turn on / off the machine and adjust the appropriate speed?
- What needles you use and what their main purpose is, what effects are achieved?
- What tool do you use?
- Which blade do you use?
- Correct and incorrect angles
- Correct and incorrect depth
- Proper movements
- Appropriate pressure
Before they get in touch with working on a model, your students need to practice the basics of technique. It is necessary to provide adequate preparation so after perfecting the technique on latex or mannequin, they can apply that knowledge to practical work.
In order to make the whole work process easier and better to understand, it is necessary to divide the whole procedure into smaller units with explanation text that will accompany the photos and video.
The lesson related to your technique should cover the specific details that your students should pay attention to.
Depending on the course structure and the importance of the lessons you want to highlight, you can also organize these lessons as major:
– Procedure on a model
– Most common mistakes
– How to mark the treated area?
– How to draw the shape?
– How to calculate the correct symmetry?
– Bleeding during the treatment
– Application of anesthesia
– Contraindications
– Tips and Tricks…
After the treatment is complete, it is essential to explain aftercare as an individualized plan that the clients will follow in order to achieve the best results during healing period.
Aftercare includes the following explanations:
– Day care (On the day of treatment, the next day, the first week, the first month…)
– Use of recommended products and how many times a day
– Forbidden during the care process (Do and Don’t)
After learning about proper care, it is necessary to explain the healing process, various factors that affect the speed and pace of the healing process and the potential changes that occur in the treated area.
Certain treatments require touch-ups, while others do not.
If your technique involves correction, explain:
– After how long is the first correction
– Why it is needed
– What is being repaired
– Is it necessary to have another correction and when?
The levels within your course serve to validate the knowledge acquired by the students in previous lessons. The technique should be divided into as many levels as you consider necessary to master the procedure step by step, since it is much easier to gain the skills in that way.
Levels can be different steps of the treatment:
– Working on simulation skin (latex) (One step, one level)
– Working on a live model (One step, one level)
– Marking the area to be treated
– Drawing the shape
– Calculating the correct symmetry…
Each level (step) should include an explanation of the process that you are going to complete with photos for ease of understanding, and which correspond to the explanation given. Also, the video materials should show how that particular part of technique is performed, in order to visually convey this to your students for ease of understanding.
More, you can illustrate the most common mistakes with a photo or video for each level.
At the end of each level must be a photo as an example of what the final work should look like. That photo will help your students see what their final work should look like, in order to pass the level and move on to the next one.

Let’s make a first step
Contact us
Let’s make a first step - Contact us
If you are interested in making the course or have any additional questions or concerns, please contact us.
Want to learn more about us?
COPYRIGHT © 2023. STUDIO LEVELS D.O.O. ALL RIGHTS RESERVED.